



If your blog / web site is missing out a customized forms (contact us, restaurant booking forms, car rental forms, newsletters subscribing forms..etc ), then you are missing out lot of opportunities every day. Just adding contact mail ID in your website will not solve this problem & but it will add more problem like getting spam mails from email harvesters. Form builder is an essential feature of a Content management system or blogging engine. But few of very famous open source projects such as wordpress don't have a form builder feature built-in. But PresideCMS provides an awesome drag and drop feature rich form builder module, that enables content administrators to build input forms to gather submissions from their site users.
Hope you know about Preside CMS (Great CFML open source by Pixl8) already. If not, Please check with Preside CMS Official site and Preside CMS Official documentation . Unlike other open source projects, PresideCMS have very good documentation & instant response on their official slack channel.

Creating a simple Preside CMS site using commandbox
- Download CommandBox from https://www.ortussolutions.com/products/commandbox
- To install preside related commands on CommandBox:
install --force preside-commands - To create a simple PresideCMS site:
preside new site
Enabling Form Builder in PresideCMS
PresideCMS introduced form builder as feature from version 10.5.0, Form Builder is the easy way to create our own forms for the PresideCMS application. There are lots of features available on it like support for all form fields, google's recaptcha, managing submitted details etc.
In PresideCMS, form builder is disabled by default. We can enable the feature through Config.cfc as follows.
component extends="preside.system.config.Config" {
  public void function configure() {
    super.configure();
    // ...
    // To enable form builder feature
    settings.features.formbuilder.enabled = true;
    // ...
  }
}?reinit=true, in order to make the changes affected.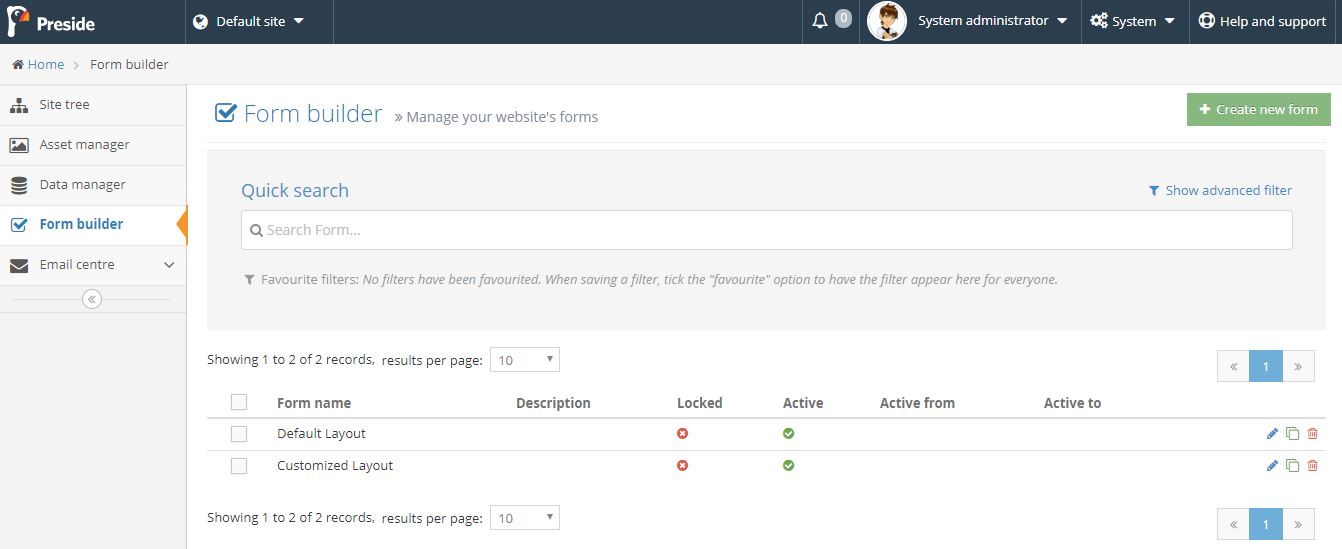
Creating a simple form in PresideCMS
You can create your own form using Create new form button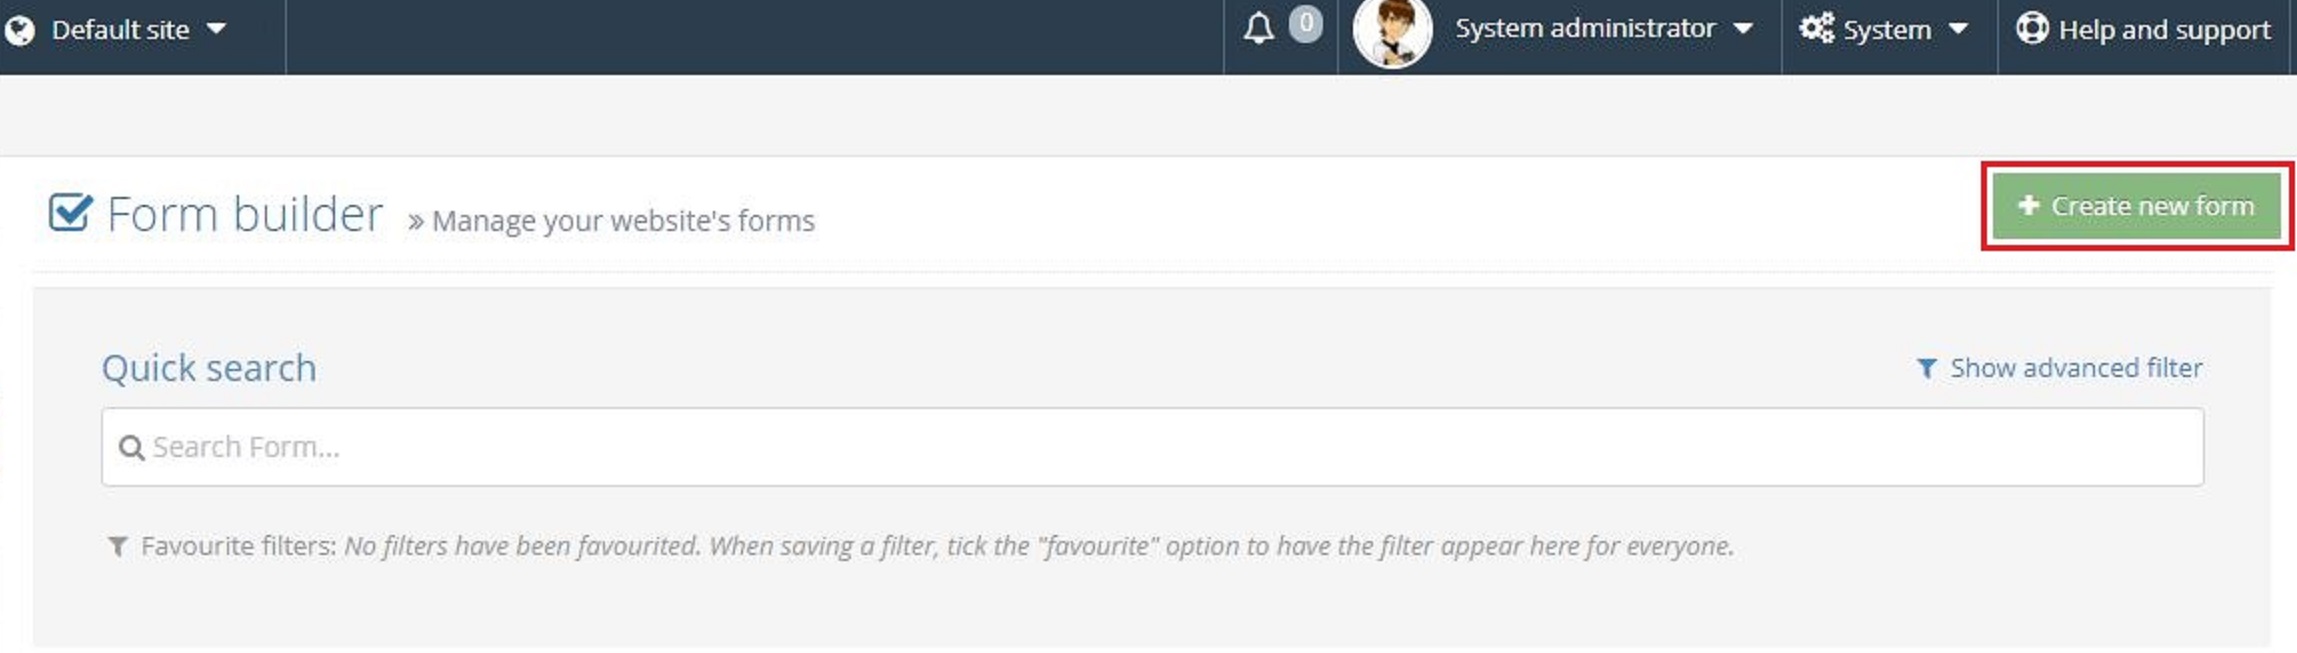
After that, we can provide the name for the FORM for identification. Also we can able to provide the LABEL for submit button of that form. If we need to protect SPAM submissions using google recaptcha, we may need to provide api key(s) in the PresidCMS settings.
The very important feature here is the validity of the FORM. We can set a date range, to make it show or hide from the user area.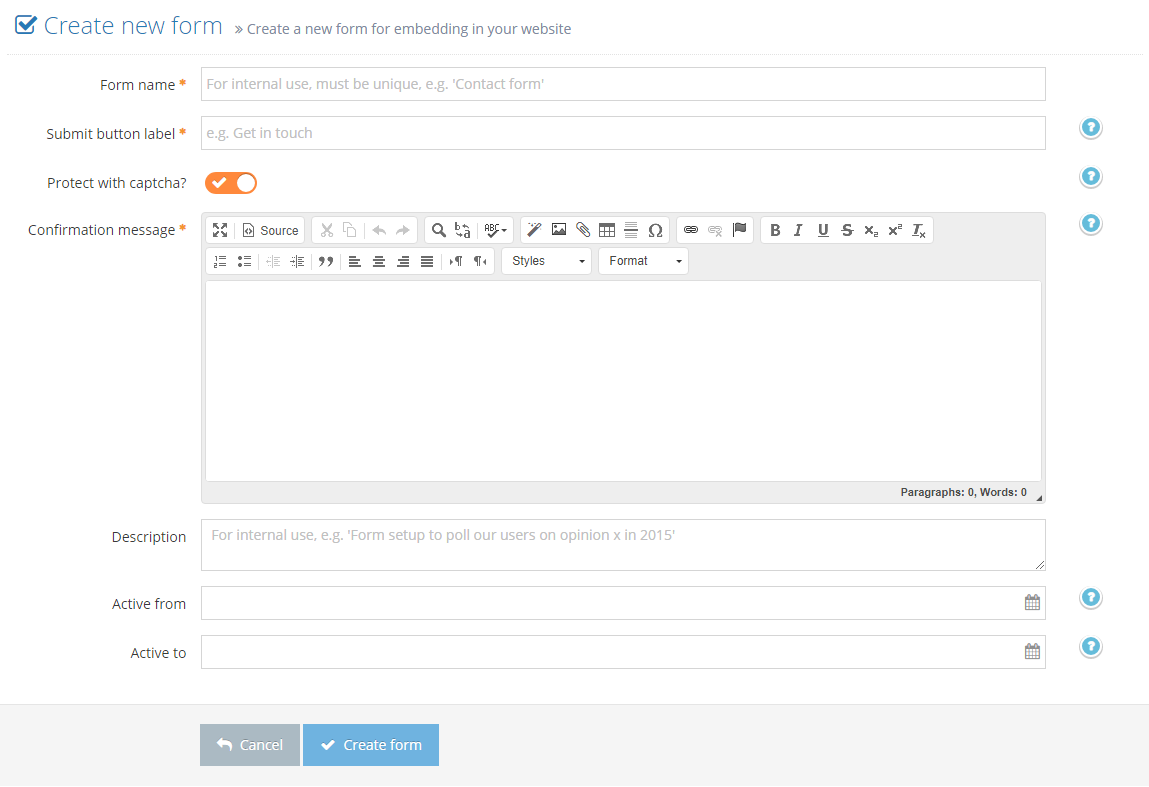
Once we created the form, we can add the fields by editing the form. There are 4 tabs of settings available.
- Fields and layout is the area, where we can add the fields & layout for the form.
- POST actions is the area, where we can add the functionality to send email upon every submission of the form by user.
- View submissions is the area, where we can see data of all the user submissions.
- General settings is the area, where we can change the settings provided upon the creation of the form like form name & submit button label.
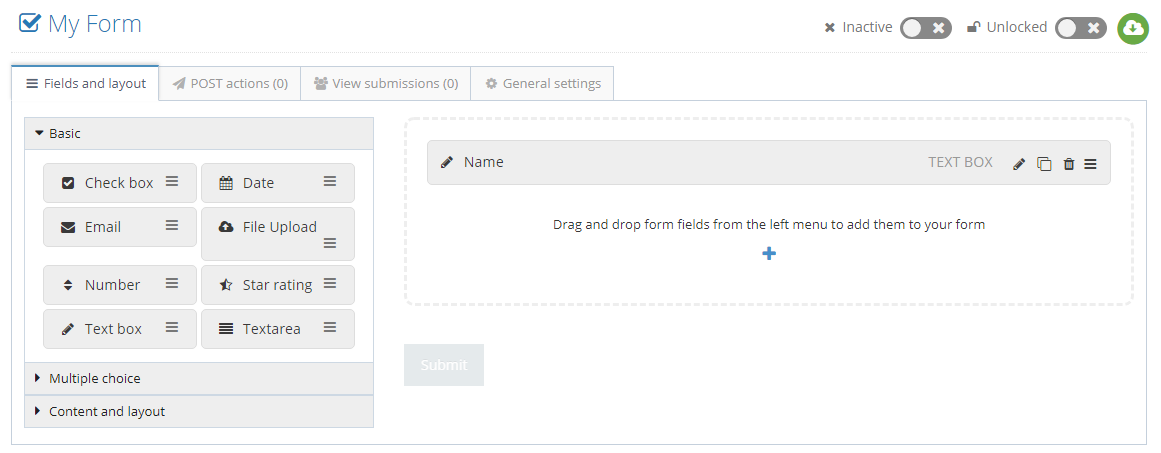
Once we have created the form, We need to activate it, Because Initially all forms are in in-active state. In order to display the form in page, we need to enable it. Otherwise it won't be shown. It is important that, we need to include the form on any one of the CMS pages. To do that, we have an option called
widgets in page edit.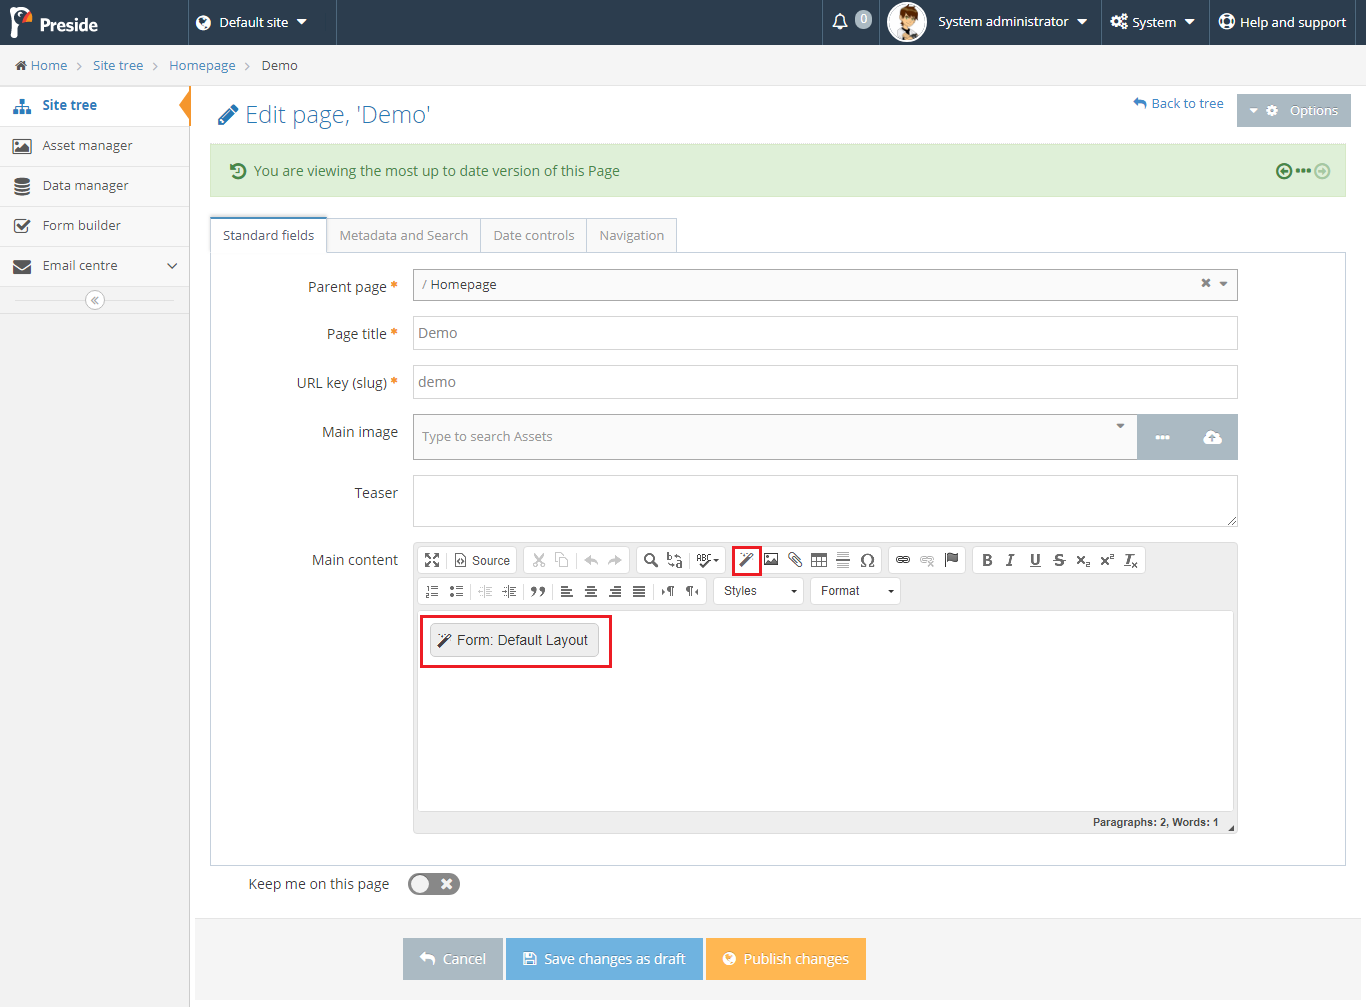
Upon clicking the widget icon on the editor, we will be showing with a list of available widgets. We need find
Form builder widget form the list & need to select it. At this point, we need to choose the form already created with a specific layout. We can also change the layout of the forms once we published.Now we are all set to display the form in the page. We can check it by visiting the specific page!!!